The products and services mentioned below were selected independent of sales and advertising. However, Simplemost may receive a small commission from the purchase of any products or services through an affiliate link to the retailer's website.
Applying nail polish to your own hands and toes can be quite a challenge. Thankfully, Juli Russell, nail artist and DIY nail expert for Sally Beauty, shared some great tips with us to help make the process easier. From drying nails faster to preventing smudges and chips, here are the best nail hacks for a more perfect at-home manicure.
Invest in Quick-Dry Nail Polishes
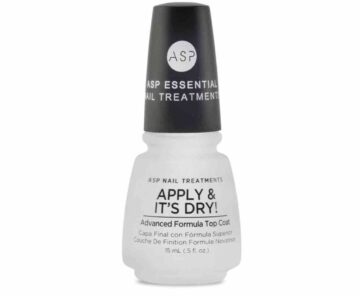
If you want to speed up the drying time of your at-home mani/pedi, it’s worth investing in a quick-dry nail polish. These polishes contain a higher level of solvents in their formulas compared to regular nail polish. And because solvents evaporate quickly, this helps to cut down their drying time.
“If you choose a quick-dry color polish, don’t skip the top coat! These quick-dry polish coats have less flexibility and can be more brittle, causing them to be prone to chipping,” says Russell. “But if you seal them in with a good top coat, like the Apply & It’s Dry by ASP, you’ll be set!”
Let Nail Polish Rest After Mixing It to Minimize Air Bubbles
Nail polish that sits around can separate over time. To mix it back together for a more consistent color and texture, Russell recommends shaking the polish and then allowing it to rest for at least 10 minutes.
By giving the polish time to settle after shaking it, any air bubbles will have dissipated before you begin to paint your nails. And shaking a polish bottle helps achieve a more even mixture than other methods, like rolling the bottle between your hands.
Use a Rubberized Base Coat to Make Your Polish Last Longer
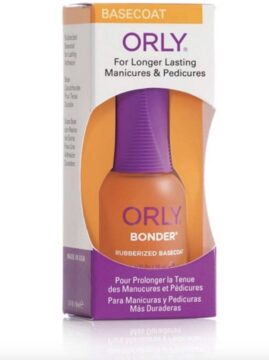
Another great tip to make a manicure last longer is to use a rubberized base coat, like the Orly Bonder base coat, underneath regular nail polish.
“Rubberized base coats dry with a slightly sticky texture, which grabs onto the polish you apply over top,” explains Russell.
Spray Nails with Oil Spray to Set Your Manicure and Prevent Smudges
Want to set your manicure and prevent smudges? Grab an aerosol spray can of coconut or vegetable oil and spray a light mist over your drying nails.
“I learned this hack from my mama years ago and was surprised to learn it totally works,” says Russell. “The oil acts as a slippery surface while your manicure is drying. So if you accidentally brush your nails against something, your nails are less likely to ‘grab.’ It doesn’t make them smudge-proof, so caution is still advised while your nails are drying.”
Use a Tea Bag and Nail Glue to Fix a Broken Nail
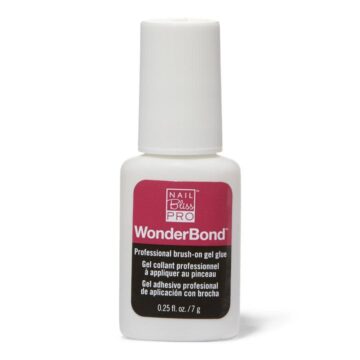
Got a broken or damaged nail? Try fixing it with a tea bag and some nail glue.
- First, cut a small piece of empty tea bag and lay it over the damaged area.
- Then, use nail glue to keep it in place and allow it to fully dry. The tea bag will become transparent.
- Use a metallic file to smooth the top of the tea bag and the glue. Be careful not to touch the surface of your nail.
“I love this hack! Not only does it work, it’s easily accessible and DIY-able,” says Russell. “The trick is to use a gel-based nail glue like the Wonder Bond Brush-On Glue Gel by Nail Bliss. Gel glue is easier to work with and won’t run all over the place, allowing more accurate placement.”
Apply at Least Two Thin Coats Versus One Thick Coat
For a professional-looking manicure, it’s important to apply two thin coats of polish instead of a single, thick coat.
“When you apply thick coats, the polish can develop air bubbles from uneven product which isn’t cute and takes way longer to dry,” Russell explains.
To Get Perfect French Tips, Use a Band-Aid or Try a Nail Stamper
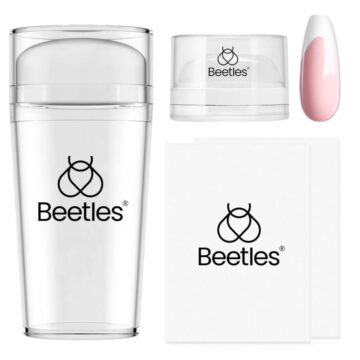
For an easy DIY French manicure, you can use a round Band-Aid on the bottom of your nail and paint over the top.
“Be careful not to use Band-Aids with small holes (often labeled as “‘flexible style’),” warns Russell. “The small holes sometimes let polish through.”
For a more advanced DIY French manicure, Russell recommends trying a nail stamper for French tips. To use a nail stamper, you paint the middle of the stamper with a few drops of nail polish and then place your nail tip into the stamper and pull it back out.
“There’s a small learning curve (as with any beauty technique) but once you get the hang of it, it’s much easier to replicate for each French manicure you do,” she says.
Use a Nail Brush or Nail Tees to Clean Up Errant Nail Polish Strokes
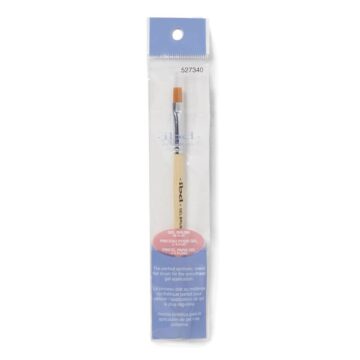
Getting some polish on the skin around your nails is an expected part of the at-home manicure process. To clean it up, Russell recommends using a nail brush or nail tees dipped in nail polish remover to remove any errant strokes around your nails at the end of your manicure routine.
Open a Stubborn Nail Polish Bottle by Wrapping a Rubber Band Around It
If you find yourself struggling to open a nail polish bottle top, the answer might be to simply wrap a rubber band around it. However, Russell recommends wrapping the rubber band tightly around the bottle several times, like a ponytail.
“When you tighten the rubber band, its elasticity tries to return to its natural state, causing the rubber band to grip the polish cap,” says Russell. “This means less grip strength is required to open the polish.”
9 simple tricks to make painting your nails easier than ever before originally appeared on Simplemost.com


